LESSON 11.02 · 35 MIN PRACTICE
Dialogue editing, room tone, and clean boundaries
Good dialogue editing preserves meaning, rhythm, and a consistent acoustic space. Removing every pause and breath usually sounds less natural than making selective corrections.
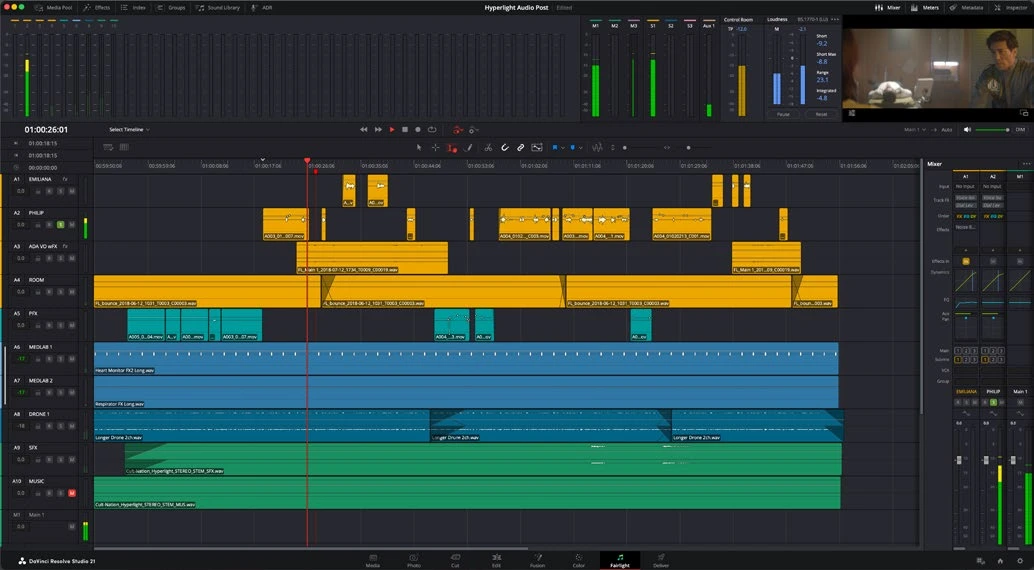
ACTUAL RESOLVE INTERFACEView full size ↗
Work through it
- Listen to the complete exchange before cutting. Mark distractions, false starts, and sections that can be shortened without changing the speaker’s meaning.
- Trim dialogue at sensible boundaries. Use small fades to prevent clicks, and listen across every edit instead of judging only the waveform.
- Fill exposed gaps with suitable room tone from the same environment. Match its level and avoid an obvious repeating pattern.
- Adjust clip gain to reduce large level differences before track processing. Preserve emotional dynamics rather than flattening every word.
Your turn
Edit a 30-second spoken passage with at least three cuts. Listen without looking at the timeline and identify any change in noise floor or unnatural pause.
QUICK KNOWLEDGE CHECK
Why use room tone in a dialogue gap?
Your notes
Write down what worked, what surprised you, and what to try next. Saved on this device.
Original practical lesson · Open the in-house resource shelf for practice files and definitions. Completion records your self-assessment, not certification.