LESSON 12.02 · 40 MIN PRACTICE
Record voiceover and manage takes
A useful voiceover recording is intelligible, consistent, and easy to edit. Room acoustics, microphone placement, and performance often matter more than later repair tools.
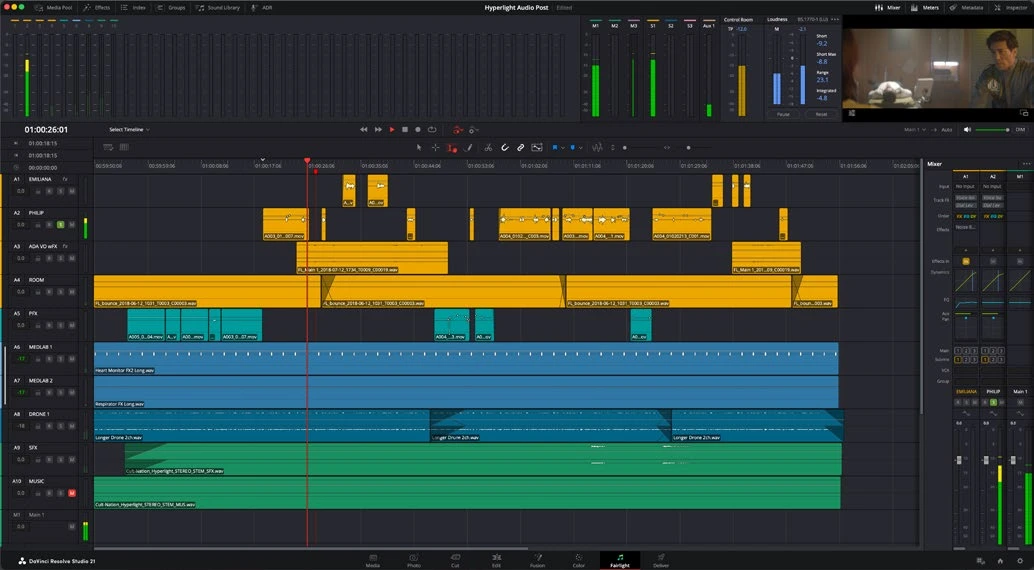
ACTUAL RESOLVE INTERFACEView full size ↗
Work through it
- Select a quiet location and a consistent microphone position. Set the input device in Resolve preferences and route it to a suitable recording track.
- Arm the track and test input level with the loudest expected phrase. Leave headroom; do not aim for the top of the meter. Check monitoring latency and avoid speaker feedback.
- Record a short test, stop, and listen back. Check for clipping, hum, plosives, room reflections, and accidental recording of the wrong input.
- Record multiple clearly labeled takes. Keep a little room tone and space at the edges. Choose the best performance, then use small edits and fades to assemble a natural result.
Your turn
Record a 20-second narration twice. Choose one phrase from the alternate take and integrate it without an obvious change in tone or ambience.
QUICK KNOWLEDGE CHECK
What should happen before recording a full narration?
Your notes
Write down what worked, what surprised you, and what to try next. Saved on this device.
Original practical lesson · Open the in-house resource shelf for practice files and definitions. Completion records your self-assessment, not certification.