← All 100 how-to guidesGUIDE 005 / 100
SETUP & MEDIA
How to change timeline resolution
DaVinci Resolve Studio 21.1 · Original practical guide
Timeline resolution sets the working frame. It can differ from source resolution, but changing the shape also changes how crops, titles, and graphics fit.
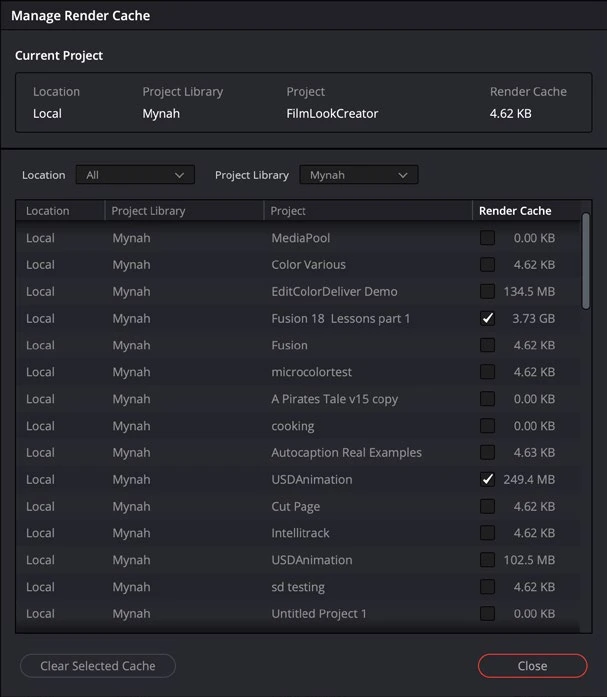
ACTUAL RESOLVE INTERFACEView full size ↗
Step by step
- In the Media Pool, right-click the target timeline and open Timeline Settings. Disable Use Project Settings if this timeline needs an independent format.
- Under Format, enter the required resolution, such as 1920 × 1080, and confirm the setting.
- Review the image-scaling behavior and inspect wide, tall, and low-resolution sources. Choose whether to fit or fill intentionally.
- Check titles, Fusion compositions, window positions, and subtitles at the new dimensions before selecting a matching delivery resolution.
Check your result
The timeline viewer and exported test have the correct dimensions without unintended cropping.
Technical reference: DaVinci Resolve 21.1 Reference Manual, Blackmagic Design, September 2026. Screenshot page numbers refer to that manual. Independently written guidance; specific controls may vary by platform and build. Authorship & image credits.