← All 100 how-to guidesGUIDE 006 / 100
SETUP & MEDIA
How to create and use proxy media
DaVinci Resolve Studio 21.1 · Original practical guide
Proxies are lightweight stand-ins for editing demanding camera files. Keep the relationship to the originals intact so finishing can use the intended source quality.
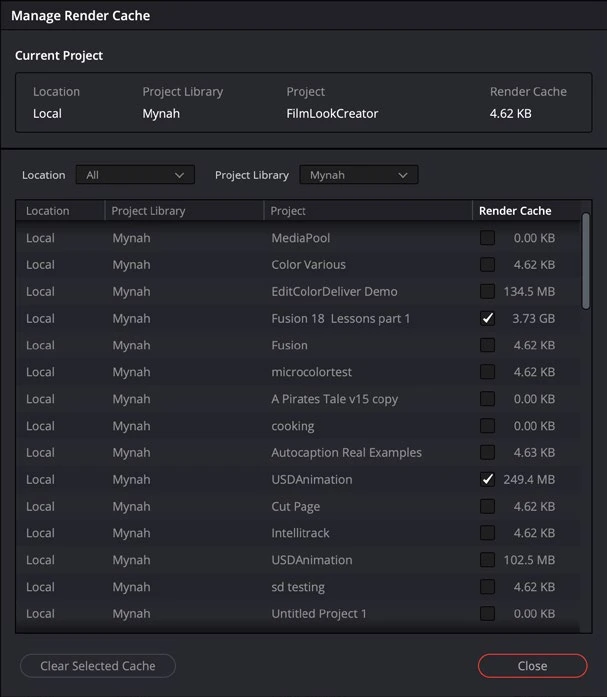
ACTUAL RESOLVE INTERFACEView full size ↗
Step by step
- Open Project Settings and choose a proxy format and resolution suited to your computer. Set a writable proxy location with enough free space.
- Select source clips in the Media Pool, right-click, and choose Generate Proxy Media. Wait for generation to finish.
- Use Playback > Proxy Handling to prefer proxies. Play the same demanding section and compare responsiveness with the originals.
- Before final delivery, switch back to camera originals and inspect the Deliver options that can permit proxy use. Render a short quality check.
Check your result
Playback improves and the final output uses the source quality you explicitly selected.
Technical reference: DaVinci Resolve 21.1 Reference Manual, Blackmagic Design, September 2026. Screenshot page numbers refer to that manual. Independently written guidance; specific controls may vary by platform and build. Authorship & image credits.