← All 100 how-to guidesGUIDE 010 / 100
SETUP & MEDIA
How to archive a project with its media
DaVinci Resolve Studio 21.1 · Original practical guide
A project export and a project archive serve different purposes. Use an archive when you need project data packaged with selected media for handoff or recovery.
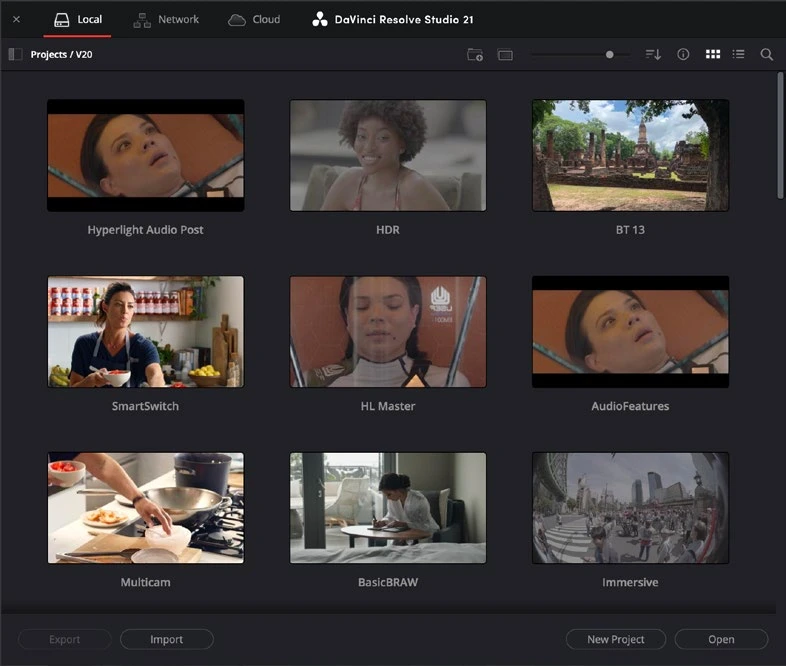
ACTUAL RESOLVE INTERFACEView full size ↗
Step by step
- Save the approved project and open Project Manager. Right-click its tile and choose Export Project Archive.
- Choose the archive destination and review the options for including source media, proxies, and cache files. Confirm the destination has sufficient space.
- Let the archive finish, then record external dependencies such as fonts, LUTs, third-party plugins, and licensed graphics separately.
- Restore the archive as a separate project and test it with original source paths unavailable. Inspect representative clips and render a short section.
Check your result
The restored project works from the archive’s media without silently relying on the original drive.
Technical reference: DaVinci Resolve 21.1 Reference Manual, Blackmagic Design, September 2026. Screenshot page numbers refer to that manual. Independently written guidance; specific controls may vary by platform and build. Authorship & image credits.