← All 100 how-to guidesGUIDE 011 / 100
EDITING ESSENTIALS
How to split a clip at the playhead
DaVinci Resolve Studio 21.1 · Original practical guide
Splitting creates two editable timeline segments without altering the source file. Think about linked audio and track selection before making the cut.
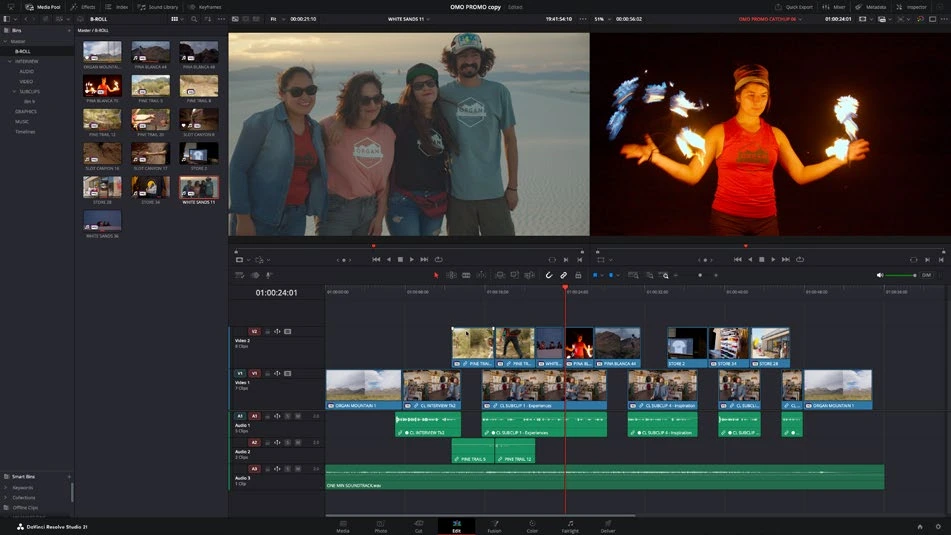
ACTUAL RESOLVE INTERFACEView full size ↗
Step by step
- Zoom into the Edit timeline and position the playhead at the intended frame. Use the arrow keys for fine positioning.
- Enable Linked Selection if the picture and its attached sound should remain together. Check which tracks and clips are selected.
- Choose Blade mode with B and click the clip at the playhead. Split the linked components you intend to edit.
- Return to Selection mode with A. Move or trim one resulting segment and play across the cut to confirm picture and sound stay aligned.
Check your result
Both segments can be selected independently, and the original source remains intact in the Media Pool.
Technical reference: DaVinci Resolve 21.1 Reference Manual, Blackmagic Design, September 2026. Screenshot page numbers refer to that manual. Independently written guidance; specific controls may vary by platform and build. Authorship & image credits.