← All 100 how-to guidesGUIDE 030 / 100
FRAMING & MOTION
How to reframe a landscape video for vertical delivery
DaVinci Resolve Studio 21.1 · Original practical guide
A vertical version needs its own composition. Create the portrait timeline first, then decide how each subject and caption fits the narrower frame.
ACTUAL RESOLVE INTERFACEView full size ↗
Step by step
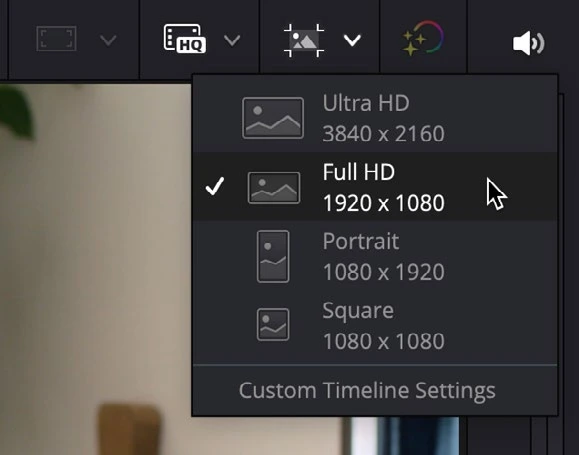
- Duplicate the timeline and give the copy a vertical-specific name. In Timeline Settings, set a portrait frame such as 1080 × 1920.
- Inspect image scaling and adjust Zoom and Position for each shot instead of relying on one universal crop.
- For moving subjects, keyframe horizontal position or use Studio’s Smart Reframe as a starting point. Review every automatic decision.
- Move titles and subtitles away from important picture details and likely platform interface areas. Export a short portrait test and view it on a phone.
Check your result
The export is genuinely portrait, and the subject, graphics, and captions remain readable throughout.
Technical reference: DaVinci Resolve 21.1 Reference Manual, Blackmagic Design, September 2026. Screenshot page numbers refer to that manual. Independently written guidance; specific controls may vary by platform and build. Authorship & image credits.