← All 100 how-to guidesGUIDE 021 / 100
FRAMING & MOTION
How to crop a video
DaVinci Resolve Studio 21.1 · Original practical guide
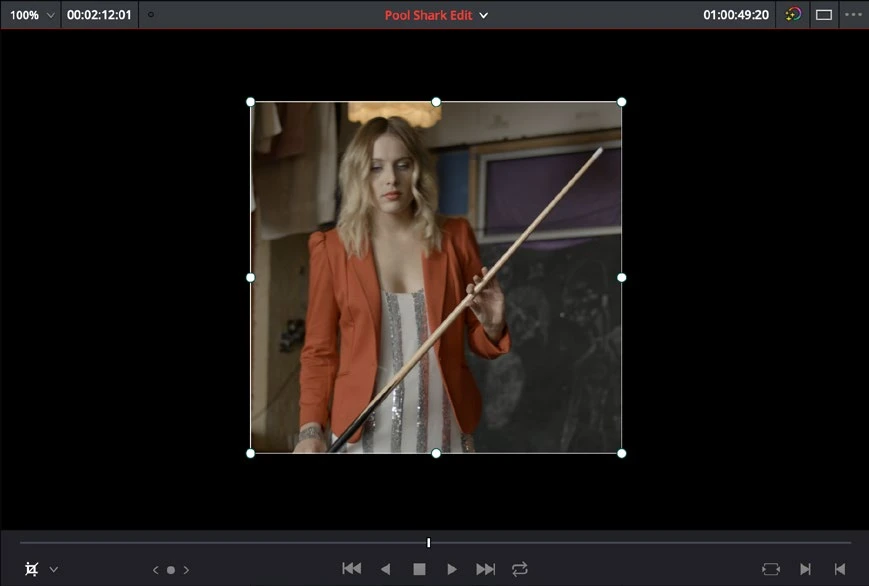
Cropping removes visible edges of a clip. It is different from changing timeline resolution, and it can reveal another layer underneath instead of automatically filling the frame.
ACTUAL RESOLVE INTERFACEView full size ↗
Step by step
- On Edit, select the timeline clip and open Inspector > Video > Cropping.
- Adjust Left, Right, Top, or Bottom while watching the viewer. Use a small change first to understand which edge is affected.
- If the remaining picture must fill the frame, adjust Transform > Zoom and Position separately. Check the image at its final display size.
- Scrub the entire clip to ensure the crop does not cut off a moving face, hand, subtitle, or important object.
Check your result
The unwanted edge is gone and the subject stays correctly framed throughout the shot.
Technical reference: DaVinci Resolve 21.1 Reference Manual, Blackmagic Design, September 2026. Screenshot page numbers refer to that manual. Independently written guidance; specific controls may vary by platform and build. Authorship & image credits.