← All 100 how-to guidesGUIDE 044 / 100
AUDIO & DIALOGUE
How to adjust clip volume and track levels
DaVinci Resolve Studio 21.1 · Original practical guide
Clip volume balances individual recordings; a track fader changes their shared contribution to the mix. Use the two stages intentionally so later adjustments remain predictable.
ACTUAL RESOLVE INTERFACEView full size ↗
Step by step
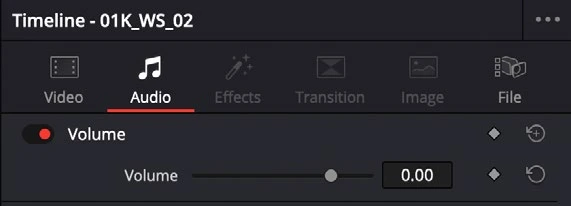
- Select an audio clip and open its Audio Inspector. Adjust Volume for a useful starting level without clipping.
- Compare neighboring dialogue clips and use clip-level adjustments to make their apparent loudness reasonably consistent.
- Open the Mixer and use the track fader to place the whole dialogue or music track within the mix.
- Listen to the combined bus output and inspect its meters. Leave headroom for multiple sounds playing at once, then verify the final mix during export.
Check your result
Individual clips are balanced and the summed output is clear without overload.
Technical reference: DaVinci Resolve 21.1 Reference Manual, Blackmagic Design, September 2026. Screenshot page numbers refer to that manual. Independently written guidance; specific controls may vary by platform and build. Authorship & image credits.