← All 100 how-to guidesGUIDE 053 / 100
COLOR FOUNDATIONS
How to adjust contrast without crushing detail
DaVinci Resolve Studio 21.1 · Original practical guide
Contrast separates lighter and darker tones. Set it after the basic color pipeline and exposure are sensible so the control responds predictably.
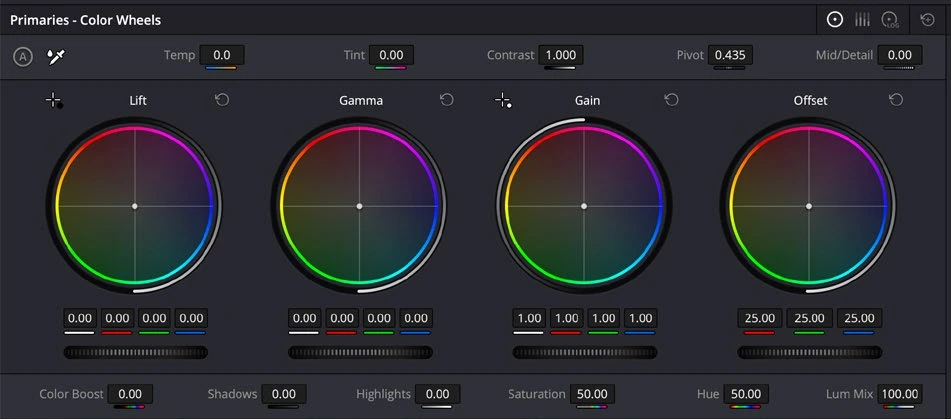
ACTUAL RESOLVE INTERFACEView full size ↗
Step by step
- Open the Primaries controls and compare the image with the waveform visible. Identify the brightest and darkest detail you want to retain.
- Raise Contrast gradually and adjust Pivot to place the tonal expansion where it helps the subject.
- Rebalance exposure if necessary, then inspect bright clothing, windows, hair, and dark backgrounds for lost texture.
- Compare before and after at the same viewing size. Use a gentle curve if a broad contrast control cannot shape the specific range you need.
Check your result
The image has useful separation without unintended clipped highlights or blocked shadows.
← PREVIOUS GUIDEFix white balance and a color castNEXT GUIDE →Control saturation without oversaturating skin
Technical reference: DaVinci Resolve 21.1 Reference Manual, Blackmagic Design, September 2026. Screenshot page numbers refer to that manual. Independently written guidance; specific controls may vary by platform and build. Authorship & image credits.