← All 100 how-to guidesGUIDE 060 / 100
COLOR FOUNDATIONS
How to create a black-and-white grade
DaVinci Resolve Studio 21.1 · Original practical guide
Black and white removes color but still needs tonal separation. Skin, clothing, and background can become similar gray values even when their original colors differ.
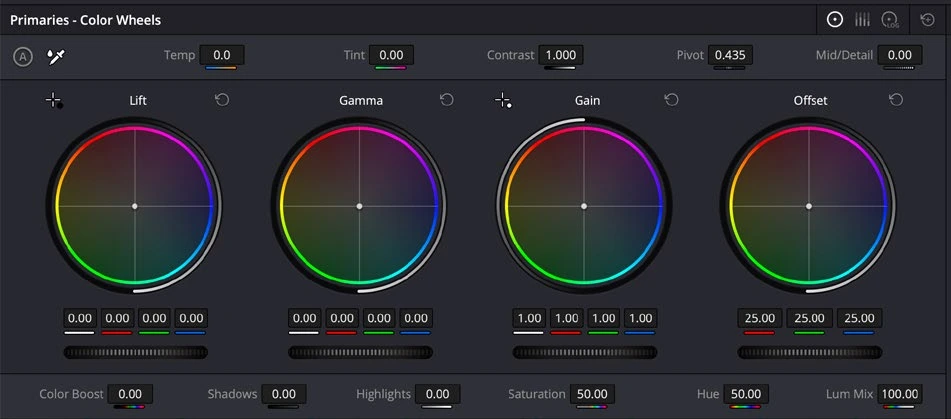
ACTUAL RESOLVE INTERFACEView full size ↗
Step by step
- Start with a balanced image and a separate node for the monochrome treatment.
- Reduce Saturation to zero for a straightforward conversion, or use the RGB Mixer’s monochrome controls when you need channel-based tonal shaping.
- Adjust contrast and tonal placement so the subject separates from the background. Watch highlights and texture rather than judging only overall darkness.
- Play the shot and compare neighboring images for a consistent monochrome style. Check noise and banding in smooth areas.
Check your result
The subject remains distinct and the grayscale image has intentional depth and readable detail.
Technical reference: DaVinci Resolve 21.1 Reference Manual, Blackmagic Design, September 2026. Screenshot page numbers refer to that manual. Independently written guidance; specific controls may vary by platform and build. Authorship & image credits.