← All 100 how-to guidesGUIDE 054 / 100
COLOR FOUNDATIONS
How to control saturation without oversaturating skin
DaVinci Resolve Studio 21.1 · Original practical guide
Saturation increases color intensity, but it should preserve believable relationships. Bright objects and skin can become distracting before the overall image looks obviously excessive.
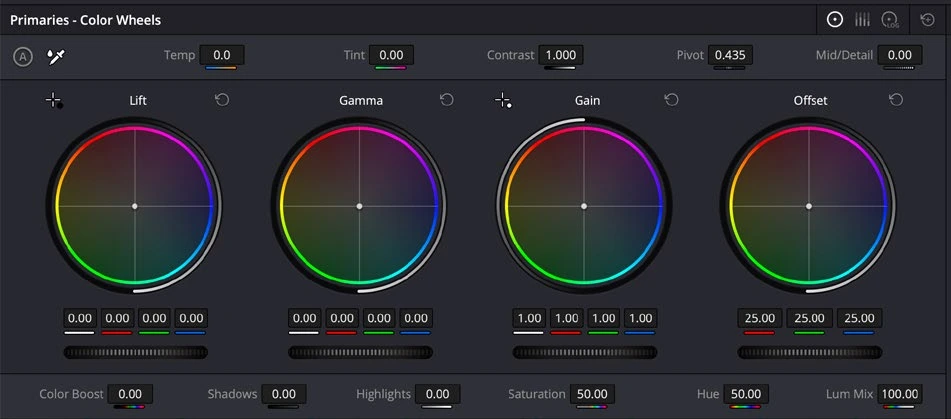
ACTUAL RESOLVE INTERFACEView full size ↗
Step by step
- Balance exposure and white balance first. Select a representative frame containing both the subject and strongly colored objects.
- Adjust Saturation in the Primaries controls while viewing the image and vectorscope.
- Compare skin, reds, and saturated lights against the unadjusted image. Reduce global saturation if only one color needs stronger treatment.
- For a selective change, use an appropriate Hue vs Sat curve rather than increasing the entire image. Review movement and neighboring shots.
Check your result
The image feels intentional and no important color becomes unnaturally dominant or loses detail.
← PREVIOUS GUIDEAdjust contrast without crushing detailNEXT GUIDE →Read waveform and RGB parade scopes
Technical reference: DaVinci Resolve 21.1 Reference Manual, Blackmagic Design, September 2026. Screenshot page numbers refer to that manual. Independently written guidance; specific controls may vary by platform and build. Authorship & image credits.