← All 100 how-to guidesGUIDE 058 / 100
COLOR FOUNDATIONS
How to copy a grade to another clip
DaVinci Resolve Studio 21.1 · Original practical guide
Copying a grade accelerates a scene, but matching conditions still matter. A correction made for one exposure or lighting setup may need adjustment on the next shot.
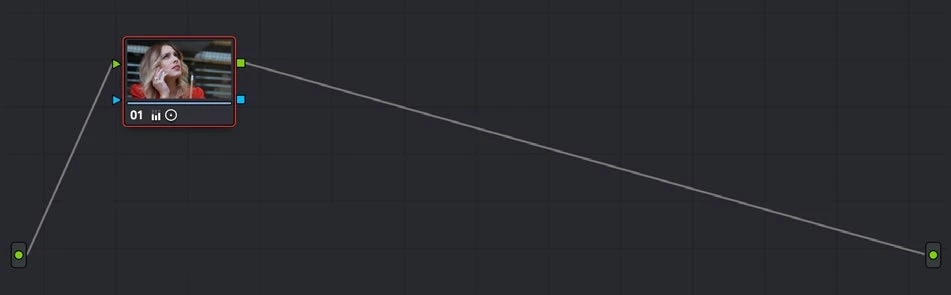
ACTUAL RESOLVE INTERFACEView full size ↗
Step by step
- On Color, identify a well-balanced source shot and a destination that uses a compatible color pipeline.
- Select the destination clip, then apply the source grade using the clip-thumbnail middle-click method or the appropriate copy-and-paste command.
- Inspect the destination node tree and confirm whether you copied the whole grade or only selected nodes.
- Compare the destination to the source with a still or split-screen view. Adjust exposure, balance, windows, and tracking for the new shot.
Check your result
The intended grade structure is present and the destination visually fits the scene.
Technical reference: DaVinci Resolve 21.1 Reference Manual, Blackmagic Design, September 2026. Screenshot page numbers refer to that manual. Independently written guidance; specific controls may vary by platform and build. Authorship & image credits.