← All 100 how-to guidesGUIDE 056 / 100
COLOR FOUNDATIONS
How to install and apply a LUT
DaVinci Resolve Studio 21.1 · Original practical guide
A LUT expects a particular input and produces a particular output. Using the wrong combination, or applying the same transform twice, can create clipped or strange-looking results.
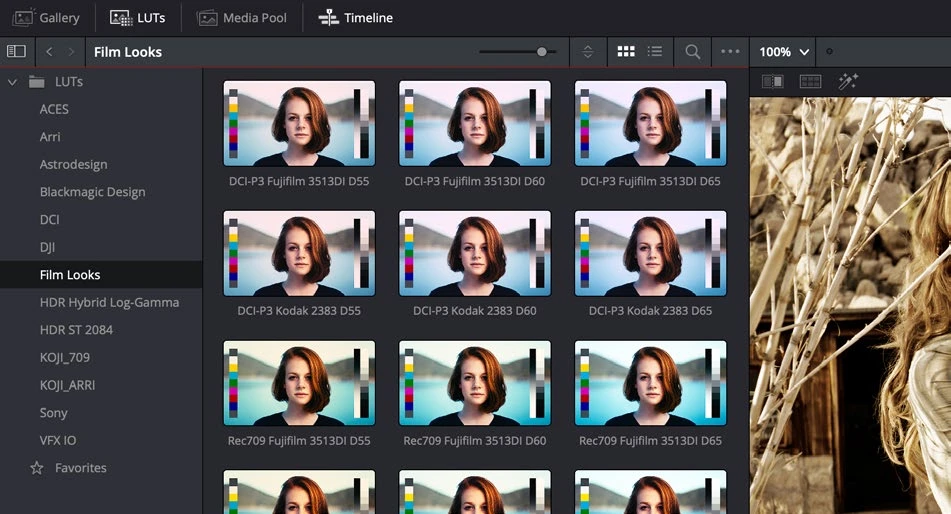
ACTUAL RESOLVE INTERFACEView full size ↗
Step by step
- Read the LUT’s intended input and output requirements. Determine whether it is a technical conversion or a creative look.
- Use Project Settings > Color Management to open the LUT folder, copy the LUT there, then refresh the LUT list.
- On Color, add a dedicated node and apply the LUT from the LUT browser or node context menu at the correct point in the pipeline.
- Compare with bypass, balance the source where appropriate, and check highlights and saturated colors across multiple shots.
Check your result
The LUT provides the intended conversion or look without an accidental second input-to-display transform.
← PREVIOUS GUIDERead waveform and RGB parade scopesNEXT GUIDE →Set up color management for log footage
Technical reference: DaVinci Resolve 21.1 Reference Manual, Blackmagic Design, September 2026. Screenshot page numbers refer to that manual. Independently written guidance; specific controls may vary by platform and build. Authorship & image credits.