← All 100 how-to guidesGUIDE 078 / 100
FUSION & COMPOSITING
How to animate a polygon mask for rotoscoping
DaVinci Resolve Studio 21.1 · Original practical guide
Rotoscoping traces a changing shape over time. Fewer well-placed points are easier to animate and usually produce smoother contours than a very dense outline.
ACTUAL RESOLVE INTERFACEView full size ↗
Step by step
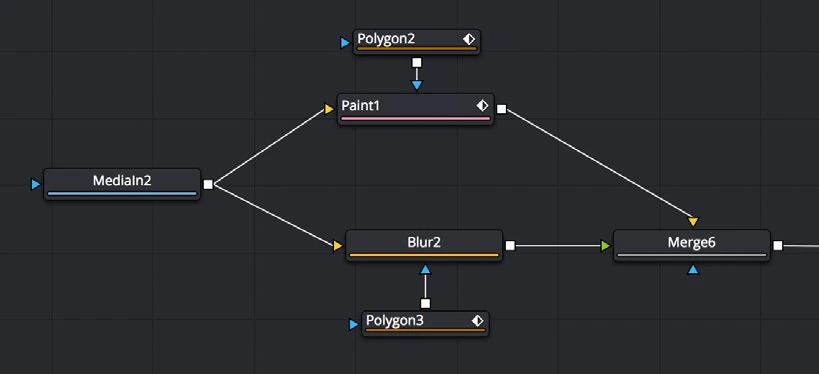
- Add a Polygon mask to the blue mask input of the image or effect you want to limit.
- At a clear reference frame, draw a manageable outline around the subject and adjust edge softness.
- Move to another important pose and update the shape. Confirm shape animation is active, then add keys at changes of direction or occlusion.
- Review the frames between keys and refine only where interpolation fails. Split complex subjects into several manageable masks when necessary.
Check your result
The mask follows the intended outline without boiling edges or sudden shape changes.
Technical reference: DaVinci Resolve 21.1 Reference Manual, Blackmagic Design, September 2026. Screenshot page numbers refer to that manual. Independently written guidance; specific controls may vary by platform and build. Authorship & image credits.