← All 100 how-to guidesGUIDE 077 / 100
FUSION & COMPOSITING
How to replace a screen in a moving shot
DaVinci Resolve Studio 21.1 · Original practical guide
A screen replacement combines tracking, perspective, and image integration. A perfectly locked graphic can still look artificial if its brightness and sharpness ignore the plate.
ACTUAL RESOLVE INTERFACEView full size ↗
Step by step
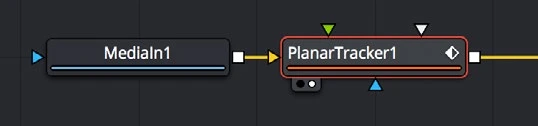
- Track the screen plane with Planar Tracker using visible corners or surrounding texture. Review the track before adding the final insert.
- Use the tracker’s corner-pin workflow or a Planar Transform to attach the replacement image to the plane.
- Merge the insert over the plate and mask it to the screen boundary. Preserve foreground objects that pass in front with an additional holdout mask.
- Match blur, motion blur, brightness, reflections, and grain as needed. Review the complete shot and render a representative moving section.
Check your result
The insert remains attached, respects foreground occlusions, and feels like part of the photographed scene.
← PREVIOUS GUIDETrack a flat surface with Planar TrackerNEXT GUIDE →Animate a polygon mask for rotoscoping
Technical reference: DaVinci Resolve 21.1 Reference Manual, Blackmagic Design, September 2026. Screenshot page numbers refer to that manual. Independently written guidance; specific controls may vary by platform and build. Authorship & image credits.