← All 100 how-to guidesGUIDE 073 / 100
FUSION & COMPOSITING
How to ease animation with the Spline editor
DaVinci Resolve Studio 21.1 · Original practical guide
Easing changes how a value travels between keyframes. It can make a move accelerate and settle without changing the basic start and end positions.
ACTUAL RESOLVE INTERFACEView full size ↗
Step by step
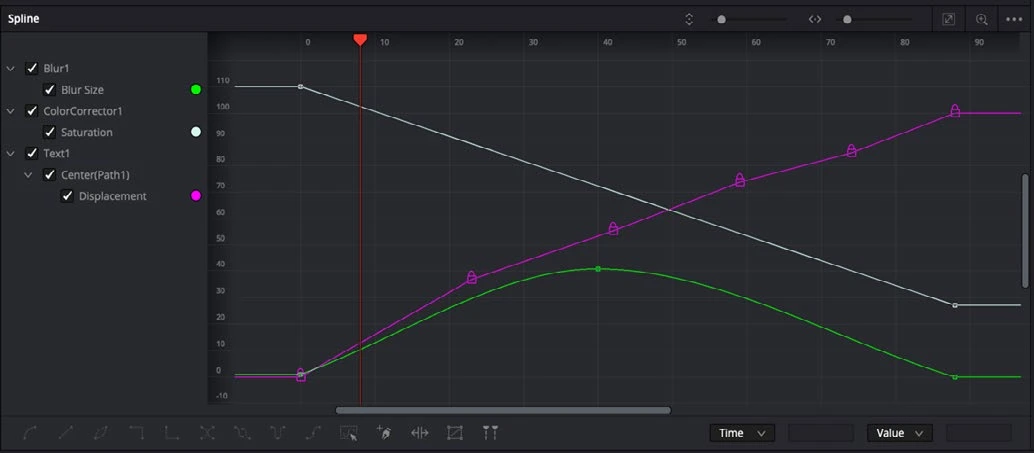
- Create two or more keyframes on a Fusion parameter and open the Spline editor.
- Enable the relevant animated parameter in the Spline list, then fit the curve to the view.
- Select the keyframes and apply a smooth interpolation. Adjust handles to shape acceleration and deceleration without unintended overshoot.
- Play the move at normal speed or render a sample. Check whether the timing supports the action instead of simply making the graph look neat.
Check your result
The movement begins and ends intentionally, with no unexpected bounce or pause.
Technical reference: DaVinci Resolve 21.1 Reference Manual, Blackmagic Design, September 2026. Screenshot page numbers refer to that manual. Independently written guidance; specific controls may vary by platform and build. Authorship & image credits.