← All 100 how-to guidesGUIDE 063 / 100
ADVANCED COLOR
How to blur a face or license plate
DaVinci Resolve Studio 21.1 · Original practical guide
An obscuring blur must remain effective throughout the shot. Review every frame where the sensitive detail appears, including transitions and motion-blurred edges.
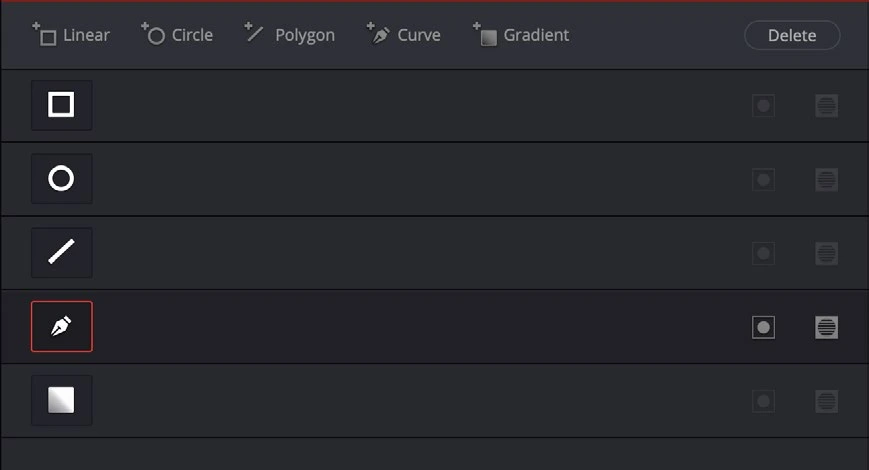
ACTUAL RESOLVE INTERFACEView full size ↗
Step by step
- On Color, add a separate node and place a Power Window around the face or plate.
- Apply a suitable blur or mosaic effect to that node and increase it until the identifying detail is unreadable at delivery resolution.
- Track the window through the shot and manually correct any drift, especially when the object turns or is temporarily covered.
- Render the used range and inspect it frame by frame, including the first and last visible frames. Check that nearby unmasked details do not reveal the same information.
Check your result
The identifying feature stays obscured in the actual export for every frame it appears.
← PREVIOUS GUIDETrack a Power Window to a moving subjectNEXT GUIDE →Select a subject with Magic Mask
Technical reference: DaVinci Resolve 21.1 Reference Manual, Blackmagic Design, September 2026. Screenshot page numbers refer to that manual. Independently written guidance; specific controls may vary by platform and build. Authorship & image credits.