← All 100 how-to guidesGUIDE 064 / 100
ADVANCED COLOR · STUDIO REQUIRED
How to select a subject with Magic Mask
DaVinci Resolve Studio 21.1 · Original practical guide
Magic Mask creates a subject selection using image analysis. Its usefulness depends on the edges, motion, and occlusion in the shot; the result still needs inspection.
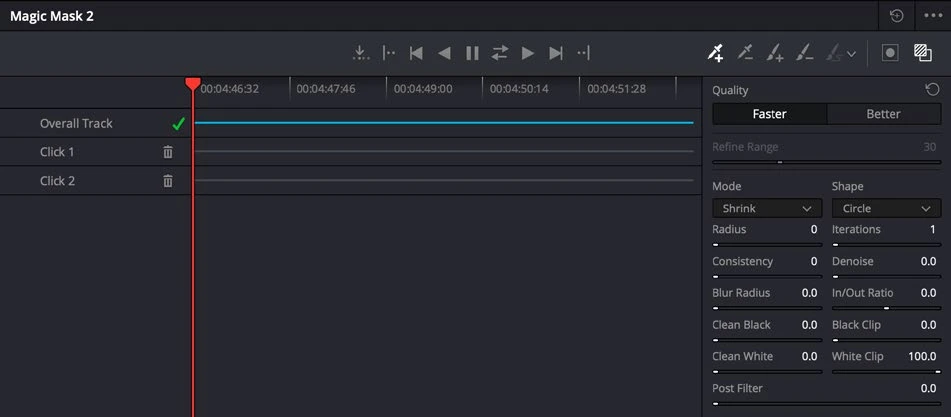
ACTUAL RESOLVE INTERFACEView full size ↗
Step by step
- Add a dedicated node on Color and open Magic Mask. Choose a clear reference frame with the subject well separated.
- Click the target in the viewer to add a positive selection in Magic Mask 2. Use its negative selection mode to exclude areas it picked incorrectly.
- Analyze forward and backward through the used shot, then inspect the matte around hair, hands, crossings, and frame boundaries.
- Refine problematic frames and matte settings. Apply a restrained local correction first so errors are easy to spot before relying on the mask for a large change.
Check your result
The selection remains stable and covers the intended subject throughout the shot.
Technical reference: DaVinci Resolve 21.1 Reference Manual, Blackmagic Design, September 2026. Screenshot page numbers refer to that manual. Independently written guidance; specific controls may vary by platform and build. Authorship & image credits.