← All 100 how-to guidesGUIDE 062 / 100
ADVANCED COLOR
How to track a Power Window to a moving subject
DaVinci Resolve Studio 21.1 · Original practical guide
Tracking moves an existing window with image features. A good starting frame and a suitable motion model usually matter more than repeated full-shot retries.
ACTUAL RESOLVE INTERFACEView full size ↗
Step by step
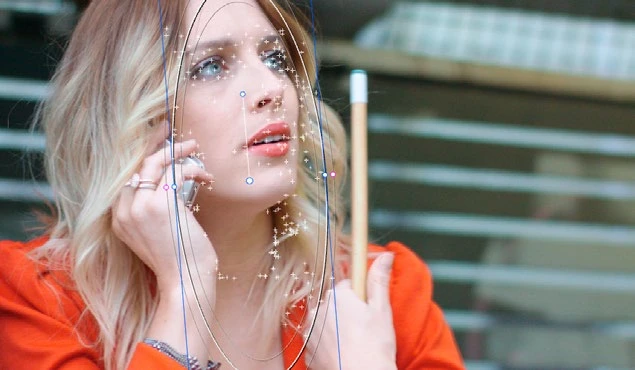
- Place a Power Window on a distinct subject at a frame where it is clearly visible. Keep the shape large enough to cover the intended correction.
- Open the Tracker palette in Window mode and enable motion components that match the shot.
- Track forward and backward from the reference frame so the complete used range is analyzed.
- Play with the overlay visible to find drift, then correct failed sections or add manual adjustments. Hide the overlay and inspect the correction itself.
Check your result
The window stays aligned through the entire used range without sudden jumps or exposed edges.
Technical reference: DaVinci Resolve 21.1 Reference Manual, Blackmagic Design, September 2026. Screenshot page numbers refer to that manual. Independently written guidance; specific controls may vary by platform and build. Authorship & image credits.