← All 100 how-to guidesGUIDE 067 / 100
ADVANCED COLOR
How to sharpen a soft-looking shot
DaVinci Resolve Studio 21.1 · Original practical guide
Sharpening increases edge contrast; it does not recreate missing focus. Use small changes and judge at the intended output size.
ACTUAL RESOLVE INTERFACEView full size ↗
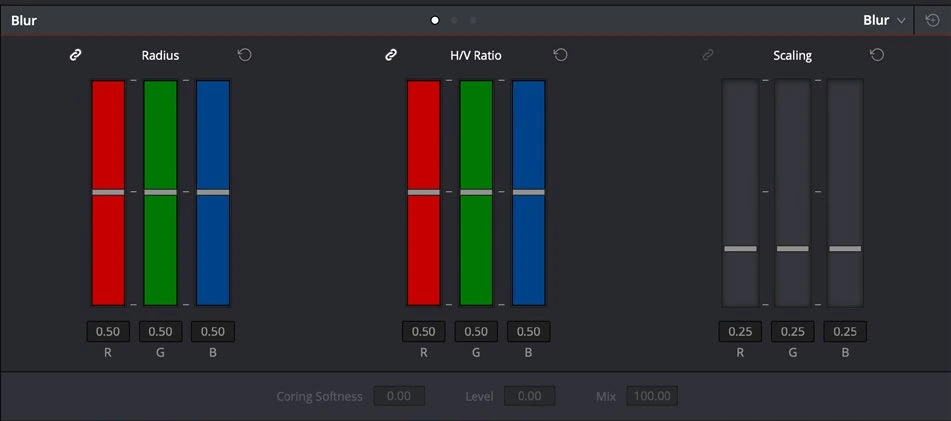
Step by step
- Confirm that softness is not caused by low-quality proxies, reduced preview resolution, or an incorrectly scaled viewer.
- Add a dedicated node and use the Color page Blur/Sharpen controls or an appropriate sharpening effect.
- Increase sharpening gradually while examining hair, text, high-contrast borders, and noisy shadows at full resolution.
- Render a short sample at the final size and compare it with the unsharpened version. Keep the smaller change when both seem plausible.
Check your result
The image looks clearer without bright halos, ringing, exaggerated grain, or brittle skin texture.
Technical reference: DaVinci Resolve 21.1 Reference Manual, Blackmagic Design, September 2026. Screenshot page numbers refer to that manual. Independently written guidance; specific controls may vary by platform and build. Authorship & image credits.