← All 100 how-to guidesGUIDE 069 / 100
ADVANCED COLOR
How to use a Color Space Transform correctly
DaVinci Resolve Studio 21.1 · Original practical guide
A Color Space Transform converts between defined color spaces and transfer functions. Its place in the node tree matters as much as its settings.
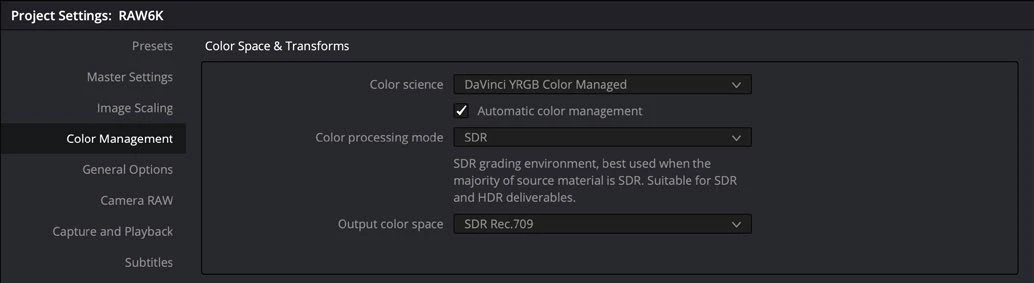
ACTUAL RESOLVE INTERFACEView full size ↗
Step by step
- Identify the source camera gamut and gamma, the intended working space, and the delivery output before adding the effect.
- Add a dedicated node and apply Color Space Transform from the effects library. Set its input and output values to match the planned conversion.
- If using separate input and output transforms, place creative corrections between them and avoid duplicating conversions already handled by project color management.
- Check tone and gamut mapping options against the delivery intent. Compare a short export and inspect highlights and saturated colors for clipping or unexpected compression.
Check your result
The conversion is documented and each stage receives the color space it expects.
Technical reference: DaVinci Resolve 21.1 Reference Manual, Blackmagic Design, September 2026. Screenshot page numbers refer to that manual. Independently written guidance; specific controls may vary by platform and build. Authorship & image credits.