← All 100 how-to guidesGUIDE 061 / 100
ADVANCED COLOR
How to isolate an area with a Power Window
DaVinci Resolve Studio 21.1 · Original practical guide
A Power Window limits a correction to a shape. Keep it on its own node so you can adjust the mask and the correction independently of the base balance.
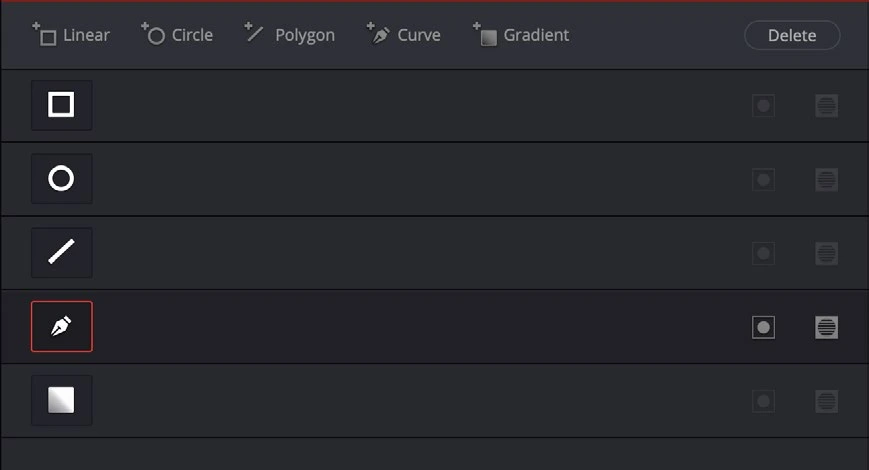
ACTUAL RESOLVE INTERFACEView full size ↗
Step by step
- Add a serial node on Color and label it for the local correction. Open the Window palette.
- Choose a circle, polygon, or other suitable shape and position it over the intended area.
- Soften the boundary and make a temporary obvious adjustment to understand exactly which pixels are affected. Then reduce it to the desired correction.
- Play through the shot and track or animate the window if the target moves. Review with the window outline hidden.
Check your result
The local change follows the intended area and its boundary is not visible in normal playback.
Technical reference: DaVinci Resolve 21.1 Reference Manual, Blackmagic Design, September 2026. Screenshot page numbers refer to that manual. Independently written guidance; specific controls may vary by platform and build. Authorship & image credits.