← All 100 how-to guidesGUIDE 083 / 100
EXPORT & DELIVERY
How to export a vertical video for social media
DaVinci Resolve Studio 21.1 · Original practical guide
A portrait export should come from a reviewed portrait composition. The important work is keeping the subject and captions useful in the narrow frame.
ACTUAL RESOLVE INTERFACEView full size ↗
Step by step
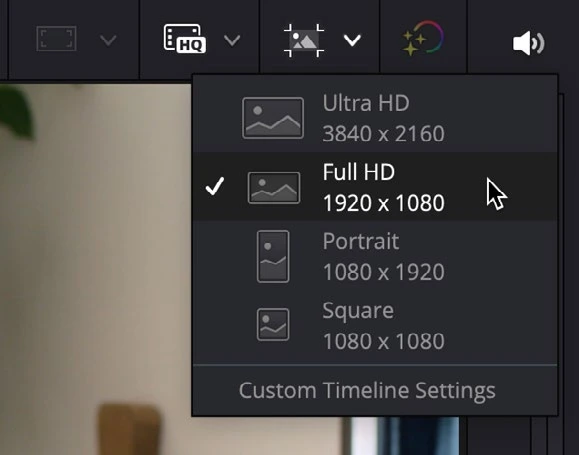
- Open the vertical timeline and confirm its portrait dimensions, for example 1080 × 1920, in Timeline Settings.
- Review every shot and caption for placement. Check likely platform overlays without assuming one permanent safe-area measurement fits every service.
- On Deliver, select matching portrait dimensions, the intended frame rate, and a supported video and audio format.
- Render a short test and inspect it on a phone. Verify orientation metadata, edge cropping, subtitle size, and sound before rendering the final version.
Check your result
The file displays upright in portrait and its composition works without relying on the player to rotate it.
Technical reference: DaVinci Resolve 21.1 Reference Manual, Blackmagic Design, September 2026. Screenshot page numbers refer to that manual. Independently written guidance; specific controls may vary by platform and build. Authorship & image credits.