← All 100 how-to guidesGUIDE 085 / 100
EXPORT & DELIVERY
How to export timeline clips as individual files
DaVinci Resolve Studio 21.1 · Original practical guide
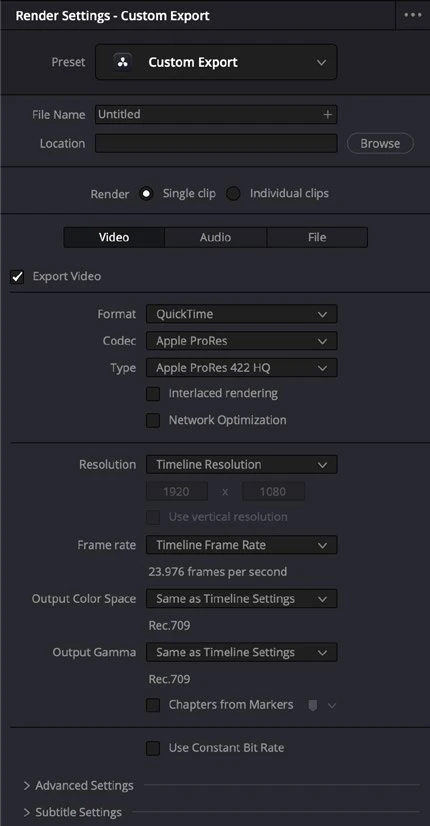
Individual Clips renders separate timeline items instead of one combined movie. Use it for a defined handoff and test how your effects and transitions translate.
ACTUAL RESOLVE INTERFACEView full size ↗
Step by step
- On Deliver, choose Individual Clips and a codec suitable for the receiving workflow.
- Set the destination and review source-name, custom-name, and uniqueness options so duplicate source filenames do not collide.
- Configure handles if the handoff needs extra source frames, and check available source range on short or retimed shots.
- Render a small representative set including an effect and a transition. Reimport the files and confirm duration, naming, color, and expected processing before the full batch.
Check your result
The destination contains correctly named separate files that meet the receiving editor’s specification.
Technical reference: DaVinci Resolve 21.1 Reference Manual, Blackmagic Design, September 2026. Screenshot page numbers refer to that manual. Independently written guidance; specific controls may vary by platform and build. Authorship & image credits.