← All 100 how-to guidesGUIDE 015 / 100
EDITING ESSENTIALS
How to insert a clip without overwriting the edit
DaVinci Resolve Studio 21.1 · Original practical guide
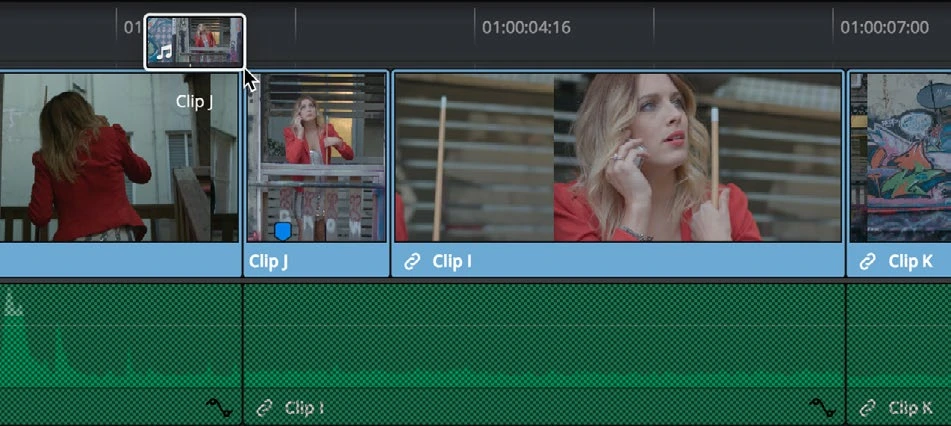
Insert adds a source range at the playhead and pushes later material along. Overwrite replaces timeline material for the duration of the incoming range.
ACTUAL RESOLVE INTERFACEView full size ↗
Step by step
- Double-click the source in the Media Pool. Mark the useful range with I and O in the source viewer.
- Position the timeline playhead at the insertion point and set the target video and audio tracks.
- Use Insert Clip from the edit controls or source-viewer edit overlay. Watch the later sequence move to accommodate the range.
- Play from before the insertion into the following scene. Confirm track locks and selection did not leave sound or titles behind.
Check your result
The new shot appears at the intended point and the previous material still exists after it.
Technical reference: DaVinci Resolve 21.1 Reference Manual, Blackmagic Design, September 2026. Screenshot page numbers refer to that manual. Independently written guidance; specific controls may vary by platform and build. Authorship & image credits.