← All 100 how-to guidesGUIDE 013 / 100
EDITING ESSENTIALS
How to ripple trim without leaving a gap
DaVinci Resolve Studio 21.1 · Original practical guide
A ripple trim changes a clip’s length and shifts later material. Use it when the sequence should become shorter or longer, rather than leaving empty timeline space.
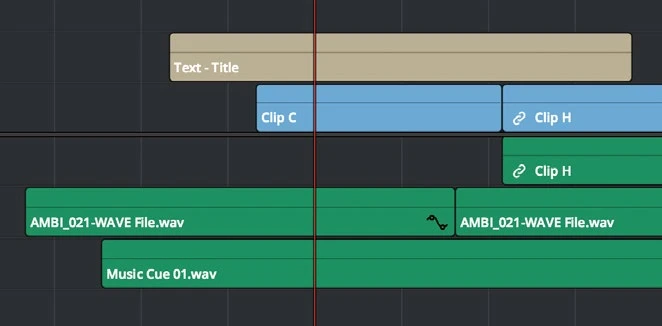
ACTUAL RESOLVE INTERFACEView full size ↗
Step by step
- Duplicate the timeline and note an important sync point after the edit you will adjust.
- Choose Trim Edit mode with T. Target a single side of the edit, watching the trim cursor before dragging.
- Drag the edge to remove or reveal source frames. Observe downstream clips move and confirm relevant track auto-selection and locks are appropriate.
- Play across the edit and revisit the later sync point. Return to Selection mode when you finish trimming.
Check your result
There is no unintended gap, and later dialogue, graphics, and music still align as required.
Technical reference: DaVinci Resolve 21.1 Reference Manual, Blackmagic Design, September 2026. Screenshot page numbers refer to that manual. Independently written guidance; specific controls may vary by platform and build. Authorship & image credits.