← All 100 how-to guidesGUIDE 012 / 100
EDITING ESSENTIALS
How to trim the start and end of a clip
DaVinci Resolve Studio 21.1 · Original practical guide
A trim changes how much of a source appears in the timeline. It is usually better than repeatedly splitting off tiny unwanted pieces.
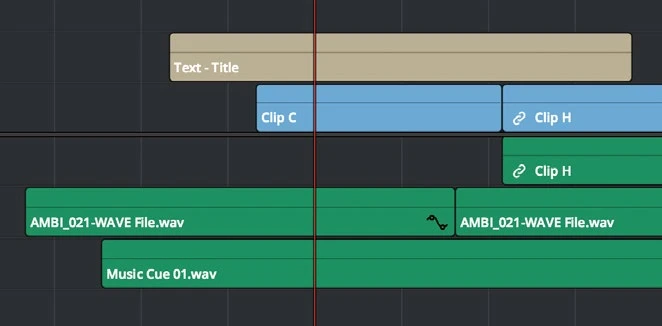
ACTUAL RESOLVE INTERFACEView full size ↗
Step by step
- Select the clip on Edit and zoom in until its boundaries are easy to target. Identify which side needs to move.
- In Selection mode, drag the beginning or end inward to shorten the clip. Watch the viewer feedback as you choose the frame.
- Drag outward only when unused source frames are available. Keep an eye on the neighboring gap or edit point.
- Play the cut with a few seconds of context. Listen for clipped words and check that the action begins and ends naturally.
Check your result
The visible range is correct and the neighboring timeline spacing matches your intention.
Technical reference: DaVinci Resolve 21.1 Reference Manual, Blackmagic Design, September 2026. Screenshot page numbers refer to that manual. Independently written guidance; specific controls may vary by platform and build. Authorship & image credits.