← All 100 how-to guidesGUIDE 091 / 100
FIXES & PROJECT SAFETY
How to remove unexpected black bars
DaVinci Resolve Studio 21.1 · Original practical guide
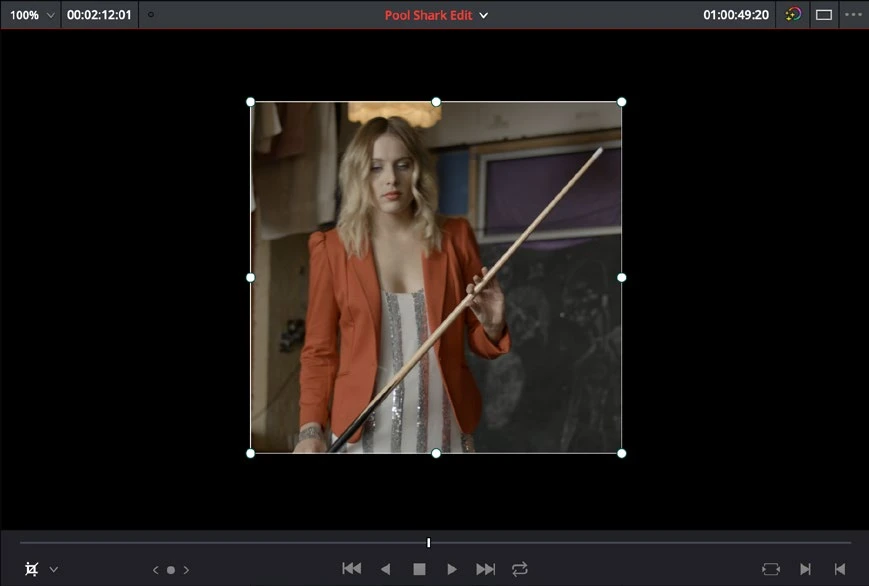
Black bars can come from aspect-ratio mismatch, clip scaling, output blanking, or bars already baked into the source. Identify which kind you have before cropping.
ACTUAL RESOLVE INTERFACEView full size ↗
Step by step
- Compare the source dimensions with the timeline and delivery dimensions. Check whether their aspect ratios genuinely match.
- Inspect the clip’s scaling and transform settings. Use fit to preserve the whole image or fill when intentional cropping is acceptable.
- Check Color page Output Blanking and any overlay graphics that could be adding bars. Bypass suspect processing for a controlled comparison.
- If bars are baked into the source, crop and scale only as much as needed, then review every frame for lost content.
Check your result
The exported frame has the intended shape without accidental bars or unintended stretching.
← PREVIOUS GUIDEReduce export file size without ruining qualityNEXT GUIDE →Fix media offline appearing only in an export
Technical reference: DaVinci Resolve 21.1 Reference Manual, Blackmagic Design, September 2026. Screenshot page numbers refer to that manual. Independently written guidance; specific controls may vary by platform and build. Authorship & image credits.